
Wood Blocks Jam
Our Level 1 board contained only two tall pieces, opposite color exits, no timer, and three visible boosters—an unusually clear test of route order.
Wood Blocks Jam
Hands-on evidence
What we verified in the browser
Tested August 13, 2026 · Desktop (macOS) · Codex in-app Chromium 151.0.7922.76 · 1280×720
Inputs used
- Close the preroll
- Click the tutorial hand on the board
Observed result
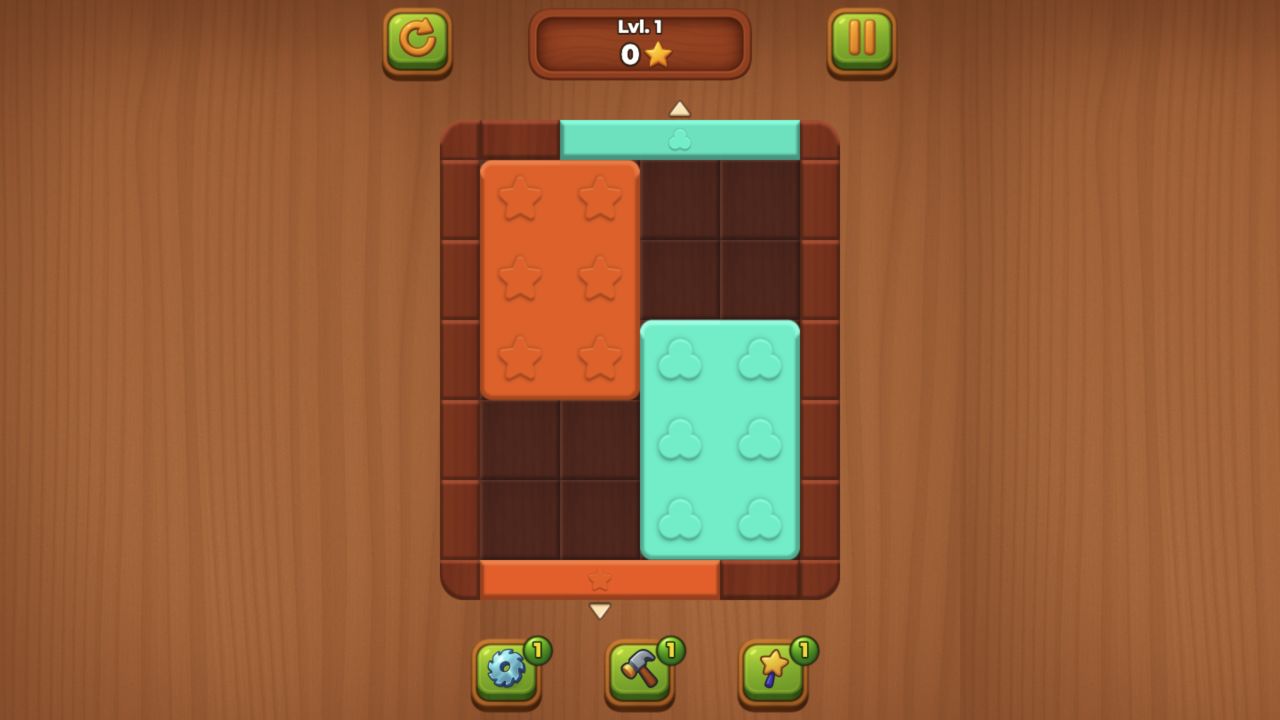
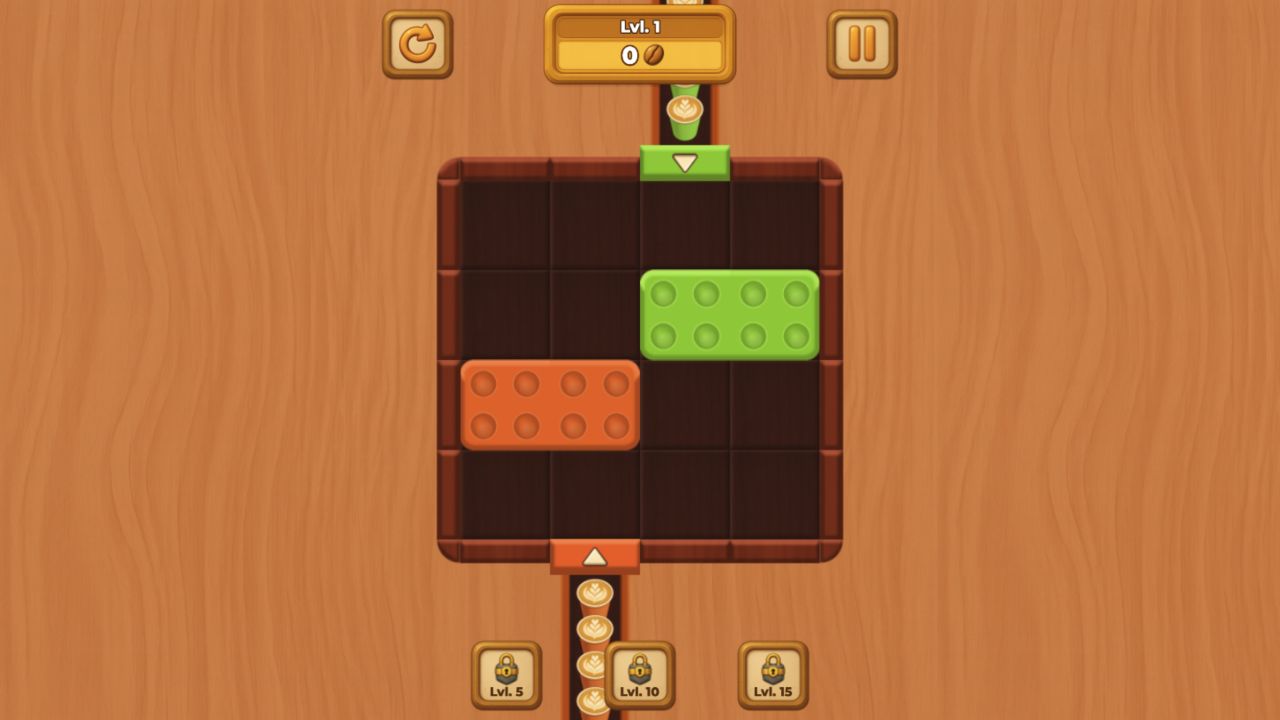
- Level 1 showed a tall orange block at left and a tall mint block at lower-right.
- Mint and orange exits were placed at the top and bottom edges.
- The board had no timer and three booster buttons were visible.
Scope note: only the observations above are our hands-on findings. Developer, device, release, and broader feature details elsewhere on this page come from the game publisher's catalog metadata unless explicitly labelled as tested.
The two-block lesson
The opening board placed a tall orange block along the left side and a tall mint block in the lower-right area. A mint exit sat on the top edge while an orange exit sat along the bottom. With only two pieces visible, the puzzle introduced destination reading before crowding the board.
A tutorial hand appeared over the play area. We clicked it to dismiss the prompt and inspect the unobstructed layout. The screenshot is the resulting live state.
Why opposite exits matter
Each block’s matching gate lies in a different direction. That prevents the solution from being reduced to “drag everything upward” or “clear the nearest edge.” Before moving, trace whether the block can travel along its current row or column and whether the other piece occupies a future lane.
The board showed no countdown, so there was room to plan. Three booster buttons sat beneath the puzzle, but we did not use them or identify their exact effects through play.
A clean opening method
Start with the piece whose route requires the least turning or temporary repositioning. If one block already aligns with its exit, clearing it may open the central space for the other. Avoid parking a piece in the only shared lane just because that move is available.
What the screenshot proves
It proves the Level 1 arrangement, the orange and mint pieces, their opposite exits, the absence of a visible timer and the presence of three booster controls. It does not prove a level count, booster economy, or later obstacle set.
Our earlier source metadata described a much larger progression, but those claims are not repeated as hands-on findings. This note stays with the two-block board we actually reached and the route-order question it presents.
Category
Puzzle
Platform
Desktop + mobile
Devices
For Android, For IOS, For Desktop
Orientation
Portrait
Blog
More to read between rounds
Six random blog picks from the editorial desk.
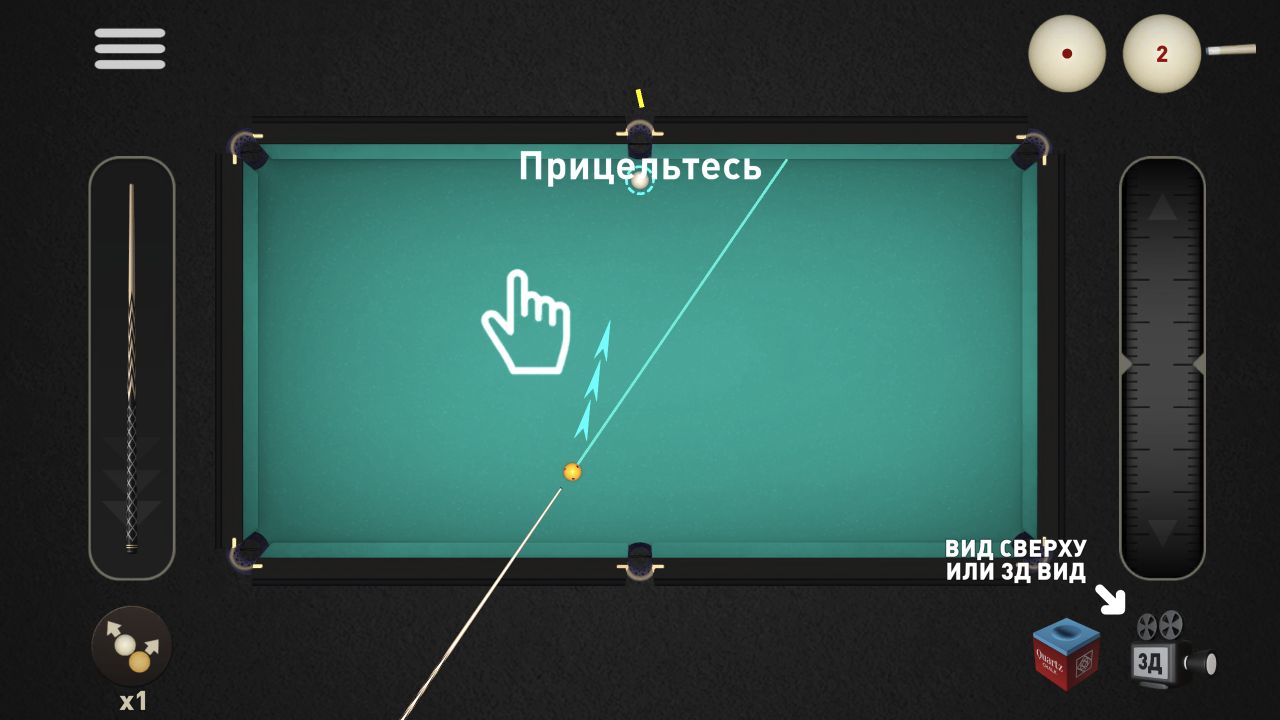
Skill guides
A Browser Aiming Checklist Without Performance Promises
How to document line, power, target and result before turning a first shot into advice.
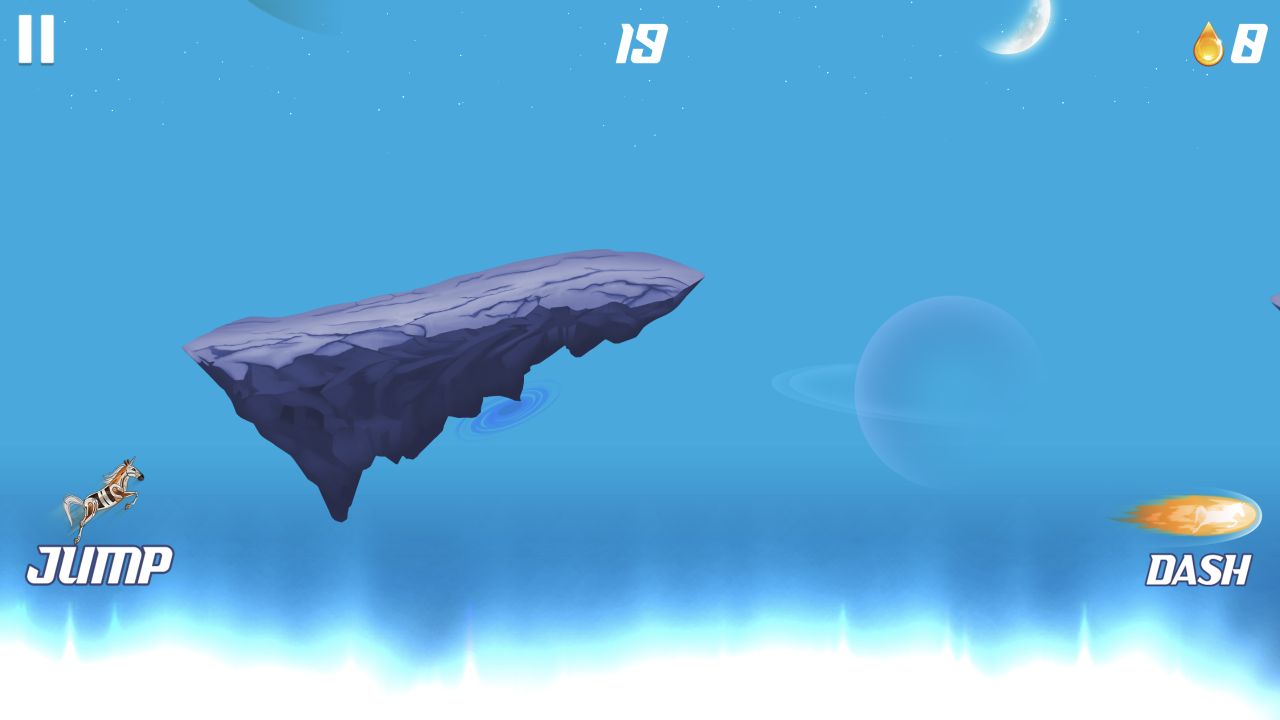
Lists
Arcade Openings With Clear, Fast Input Feedback
Three documented openings compared by feedback timing, without claiming they improve reflexes.
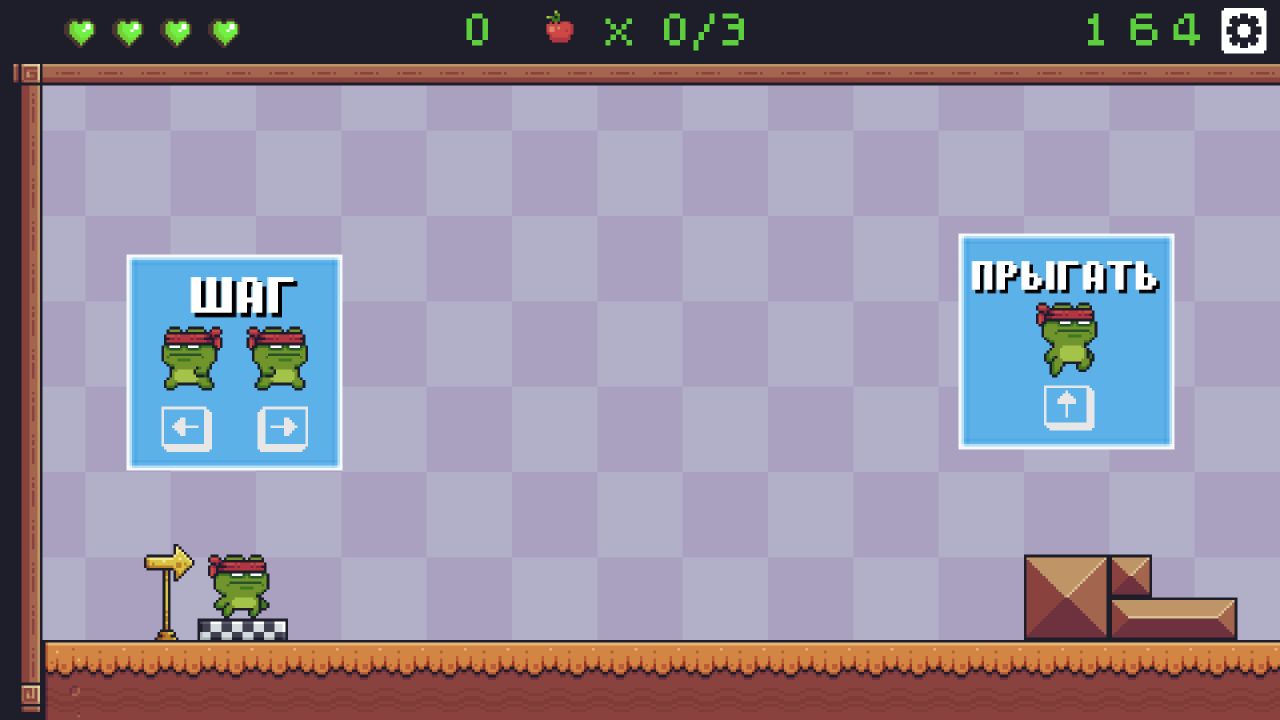
Lists
How We Read a Platforming Opening From Evidence
A comparison of tutorial language, live-state feedback and unresolved movement in current platform-style sessions.
Industry
What Changed After Flash—and What Our Browser Sessions Actually Show
A sourced technical timeline paired with current session evidence, without unsupported claims about market growth or a universal comeback.
Industry
Three Patterns in Our 20-Game Evidence Set—not an Industry Forecast
A dataset-scoped look at visible tutorials, compact opening goals and evidence limits.
Opinion
Why We Verify Controls Before Writing About Presentation
A control-first review method built from accepted, failed and ambiguous inputs.